3D Modeling and Electronics · Light Data Bars
In this phase of your project you will use digital software to design what your installation will look like, so that you can then send this digital design file to the machines that will turn it into a physical fabrication.
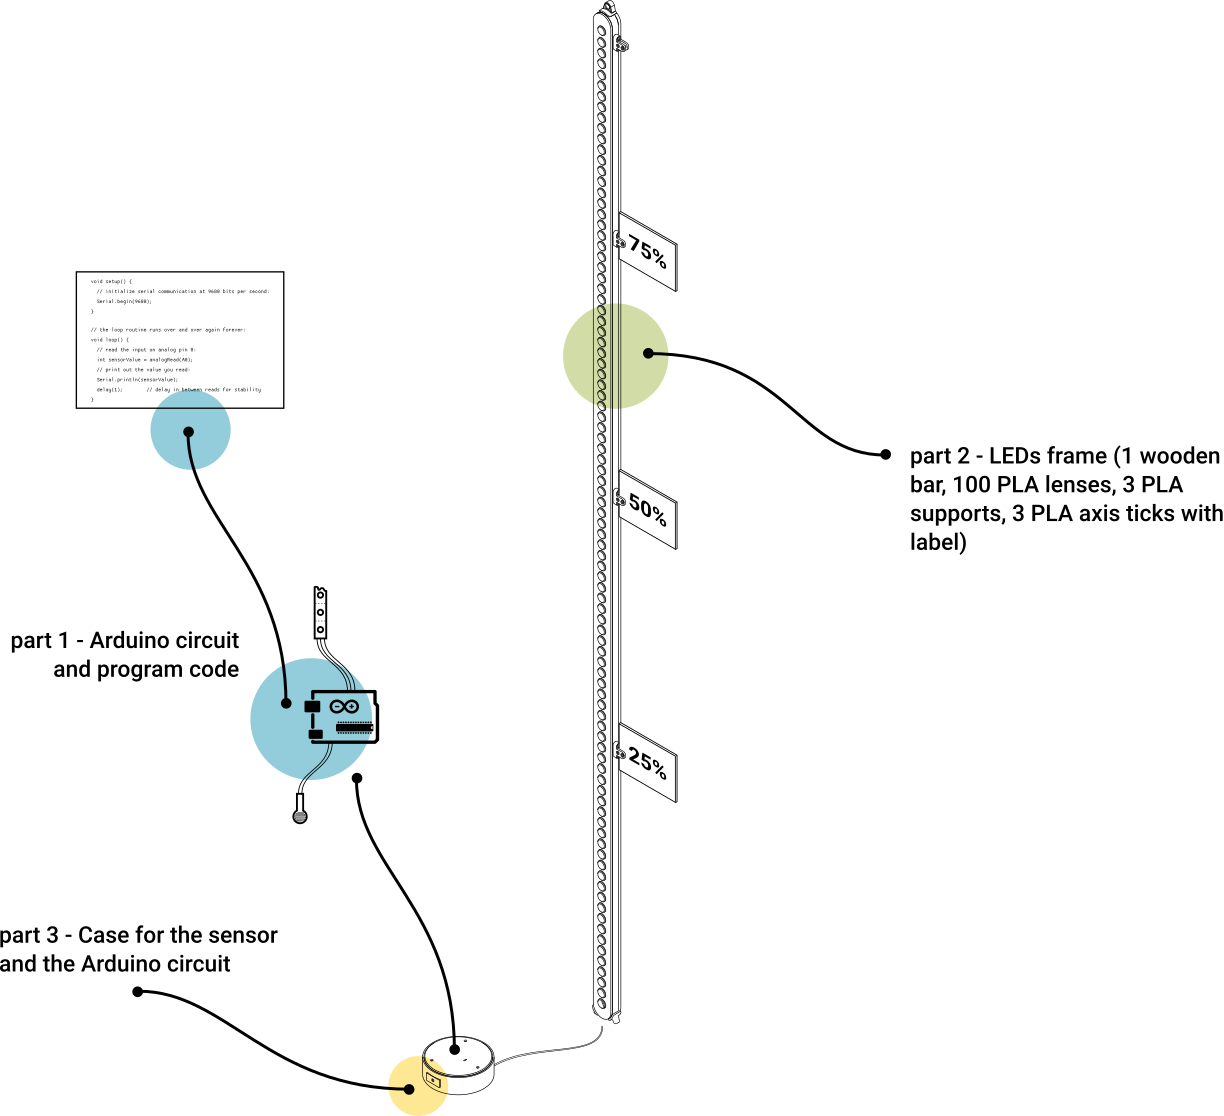
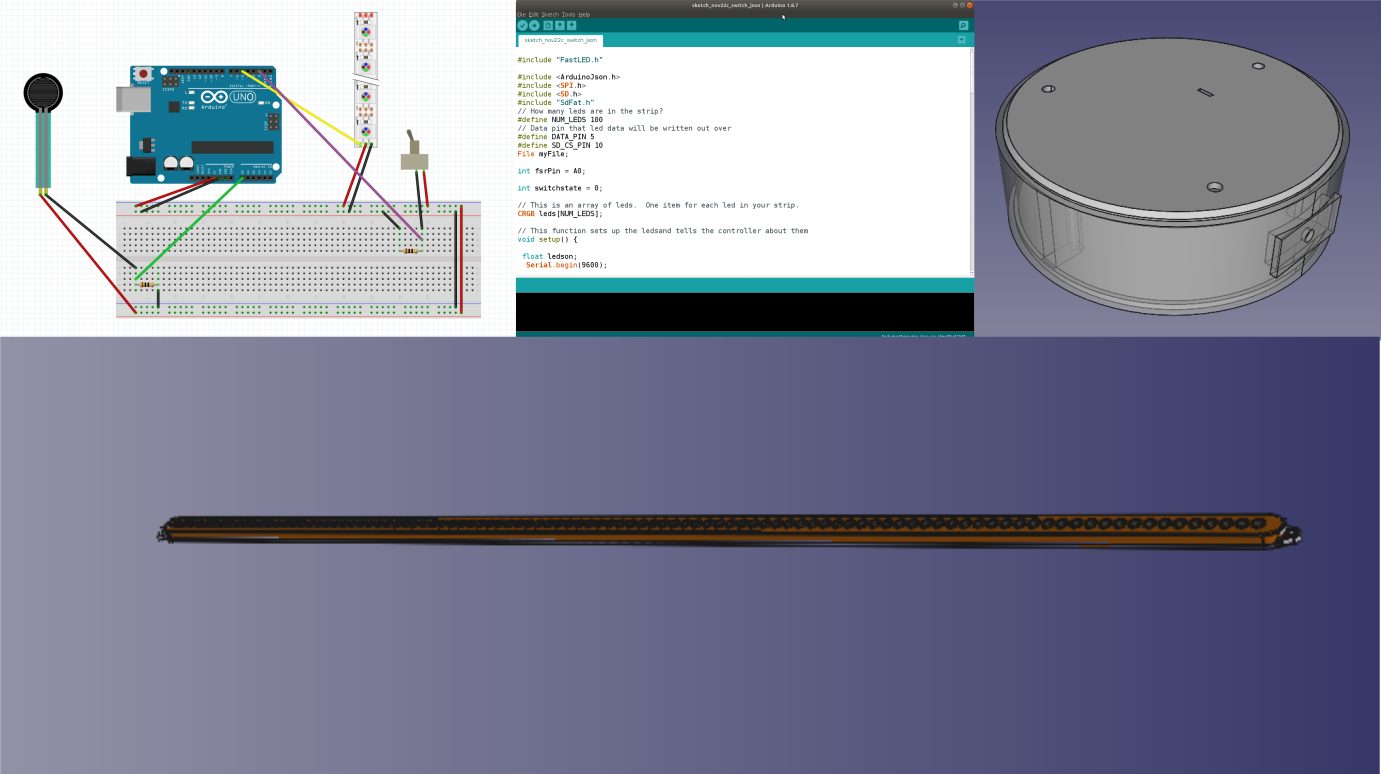
Other than 3D modeling, this project involves coding the Arduino microcontroller and setting up the circuits, so that you can read data from a pressure sensor. This is why the first part of this section is called “Electronics”, as it is not actually about 3D modeling. In this section you will learn how to configure the circuits and write the Arduino code.
While in this tutorial we will skip directly to the digital software modeling, remember that, when working on your own project, the very first design phase is always done with paper and pencil.
The tutorial is structured so that you can both watch the video of the process and/or follow-up by reading the detailed explanation about what is going on in each step of the process.
The tutorial for this phase has been divided into different sections, each referring to a different software, object or technique. This way you can easily distinguish the building blocks and abstract the core techniques to reuse them in your future projects.
3D Modeling and Electronics workflow details